Latte Art


One of my favourite thinks about coffee is that it not only taste amazing but its also piece of art in a cup.

Latte art is something like drawing a picture, but its drawing a picture with steamed milk to shot of espresso.

History

The history of latte art is not very far to search for. It all started in 1980s in Italy and about that time also in United States, in Seattle.

David Shomer, who developed microfoam, popularized and established heart pattern which was also signature at Shomer’s Cafe -Espresso Vivace.

He also developed the rosette pattern by recreating the technique based on a photograph from Cafe Mitaki, Italy.


1. Espresso

Espresso shot is the base. It should be prepared right, which means that it should be made of 8-9g of coffee and pressed by 20kg. The espresso shot is poured into cappuccino cup, because it needs to have wide bottom and it has about 25-30ml.

2. Steamed Milk

Milk should has at least 3,5% of fat. Steamed milk has to be creamy and shiny unlike it is when preparing latte macchiato, where the steamed milk should be thicker.

The actual “act of making” latte art is by pouring the steamed milk into the shot of espresso and by certain moves, which are better to be showen, we can create various beautiful pictures. And it is all made just in one move !!!
Tastefull piece of art 😊

How to make Focaccia

Hello to all of my friends πŸ™‚

This time Im going to show you how to make delicious focaccia πŸ™‚

image

image

Focaccia is an italian flat bread, typically made with rosemary, olive oil and salt. There are many variations nowadays. You can top your focaccia with herbs, salami, mushrooms, tomatoes, cooked potatoes, mozzarella, ham and really anything you like. It is very easy to make and super delicious bread or snack.

image

Ingredience:

500g flour

7g dry yeast or 21g real yeast

325 ml water

salt

olive oil

herbs

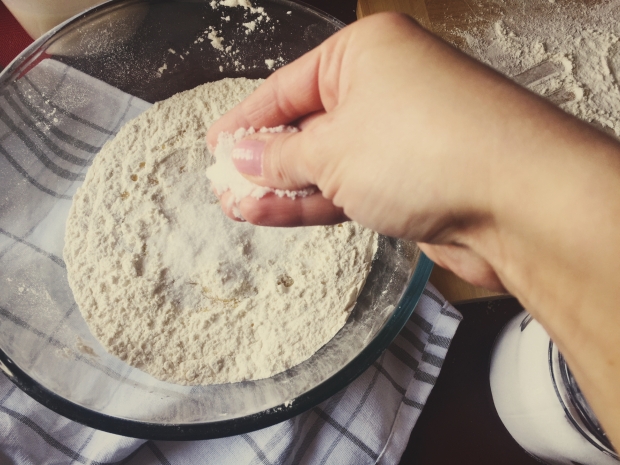
1. In bowl mix with a hand the flour, salt and few drops of olive oil.

image

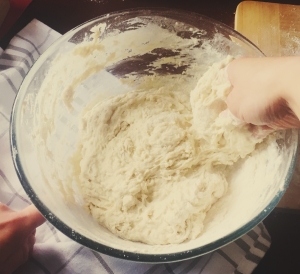
2.Β Mix yeast in 325 ml of water and add it to the bowl with flour.

image

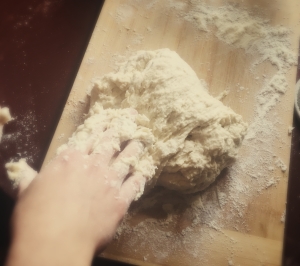
3.Β After mixing the mixture in bowl for a while place the dough on the floured working space and start working the dough. Do it for 10 minutes so the dough is stretched enough and air will stay inside the dough.

imageimage

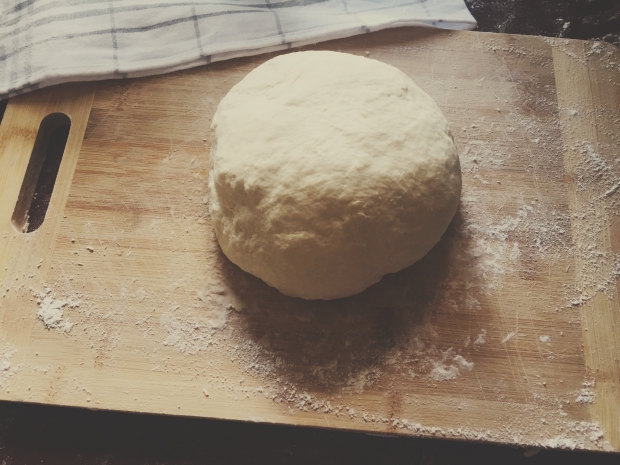
4. Cover the dough with a bowl and let it rise for 45 minutes.

image

image

image

5.Β Stretch the dough gently and place the dough into your form. Top it with olive oil, salt and your chosen ingrediences, cover it and let it rise for another 45 minutes.

image

6. Put into oven for 20 minutes on 200 degrees celsius.

image

Bon Appetit πŸ™‚


Yogurth with Homemade Granola and Berries

This one is amaazing πŸ‘ŒπŸΌπŸ˜‹

Perfect way to start your day with.

For this recepie you can also make your homemade yogurth too but I have just bought one natural greek yogurth and made homemade granola only.

Recepie is below hope you like it πŸ˜‰


IMG_1475

Homemade Granola

Oats

Honey

Nuts (Ive used walnuts)

Dried fruits (I used figs, peaches and cranberries)


You can add basically any kind of ingrediences for example coconut, dark chocolate or sesame seeds are very good.

Cut the nuts and dried fruit, or chocolate into little pieces, mix it all together with oats and honey and place it on the baking sheet you have prepared.

Place it into the oven untill gold ( 30 min)

and done 😜

Then you can just layer it up with yogurth or fresh fruit, more nuts or chocolate and

Bon Appetit


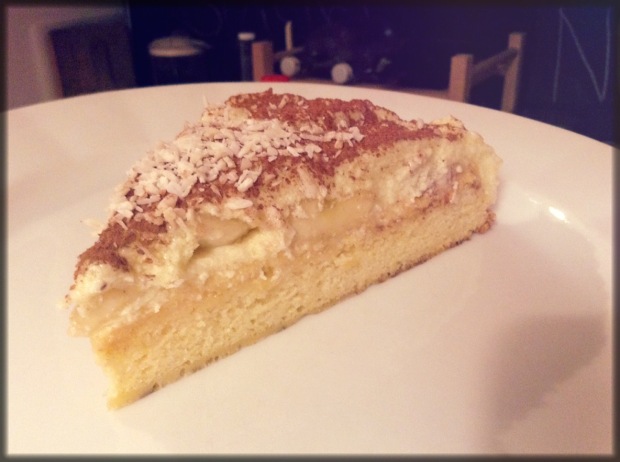
Creamy Banana Cake

image

This recepie is very easy to prepare dessert and also very tasty. It is creamy but light too.

If you are banana lover this one is the right one 4 u πŸ™‚


Ingredience :

6 eggs

6 big spoons of flour

6 big spoon of sugar

1 coffee spoon of baking soda

250 g butter

vanilla bean ( or vanilla sugar or any other flavour)

salt

powdered pudding – I use Zlaty Klas from Dr.Oetker

1.Mix egg whites untill thick and nicely white and start adding sugar. Add one at a time and mix it after each one.

2. Mix egg yolks untill they are light yellow and start adding flour. Also keep adding one at a time and mix it very lightly after each one.

3. Mix it all together, add pinch of salt and vanilla bean or any flavour according to your taste. Mix it very lightly so cake can stay big and ” airy”.

4. Put little bit of butter all over the cake form , put in it baking sheet and the mixture into it and put it into oven.

5. Bake it for 15-20 minutes on 180 degrees celsius. After let it cool down, then carefully take off the baking sheet and put it into oven for another 10 mknutes and let it cool again.


Cream :

1. Heat up 350 ml of water or milk and add powdered pudding. Mix it untill it gets thick, cover it with foil and let it cool.

2. Mix butter with sugar and start adding prepared and cooled pudding which you mix with mixure before combining with butter. Keep adding one spoon of pudding to butter and mix it well after each spoon.

3. When is the cream ready put little bit on the prepared cake corpus the put cut bananas and the rest of the cream


ENJOY πŸ˜‰

First blog post

Hello everyone πŸ™‚ 

This is the very first post in our new foodblog Brunchers where we would like to introduce us and the blog little bit for the beginning. This blog is mainly about food πŸ˜‰ YES πŸ™‚ 

About places we enjoyed and why, especially cafes and bistros where they serve breakfast or nice snacks or brunch. Because thats our favourite meal of the day πŸ™‚ but also because we love the atmosphere of nice little urban cafes or french styled bistros anywhere in the world. 

We also share with you our experiences of running a small cafe or a bakery, our cafe interior design tips or better to say inspiration and our favourite recepies.

Hope you enjoy it 

Lots of love love love and good food